Blacklist
The Blacklist tab is used to Add, Edit, or Delete all Blacklist entries used by the system.
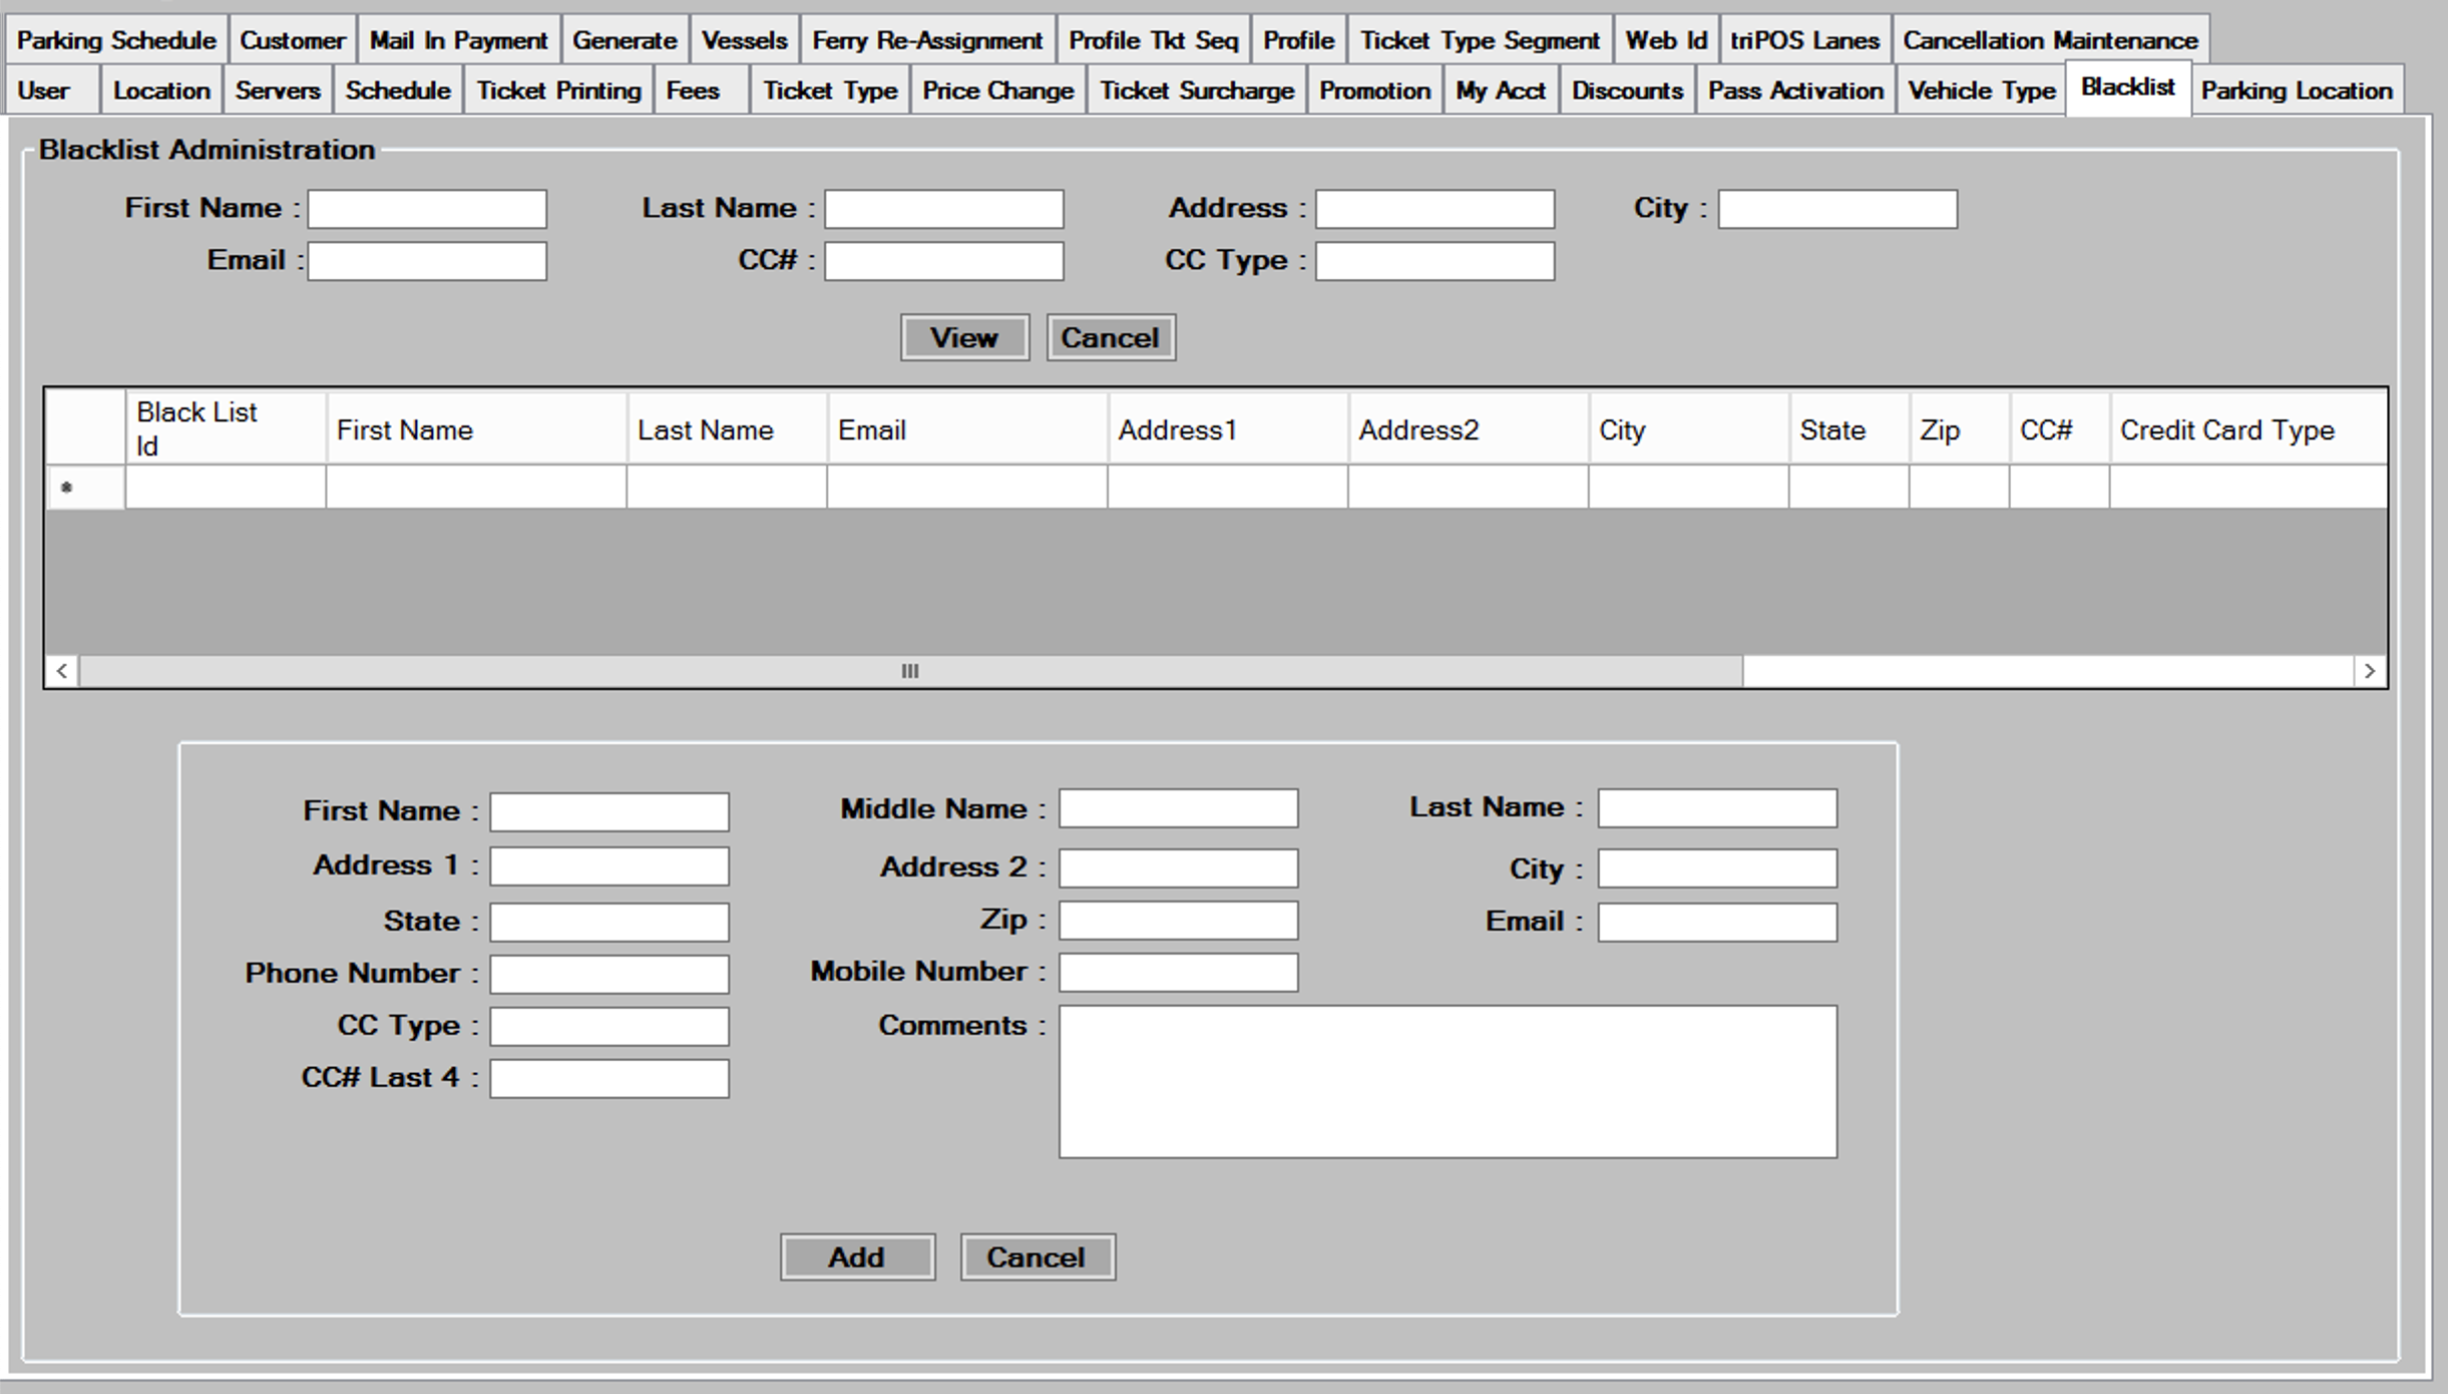
Adding New Blacklist Entries
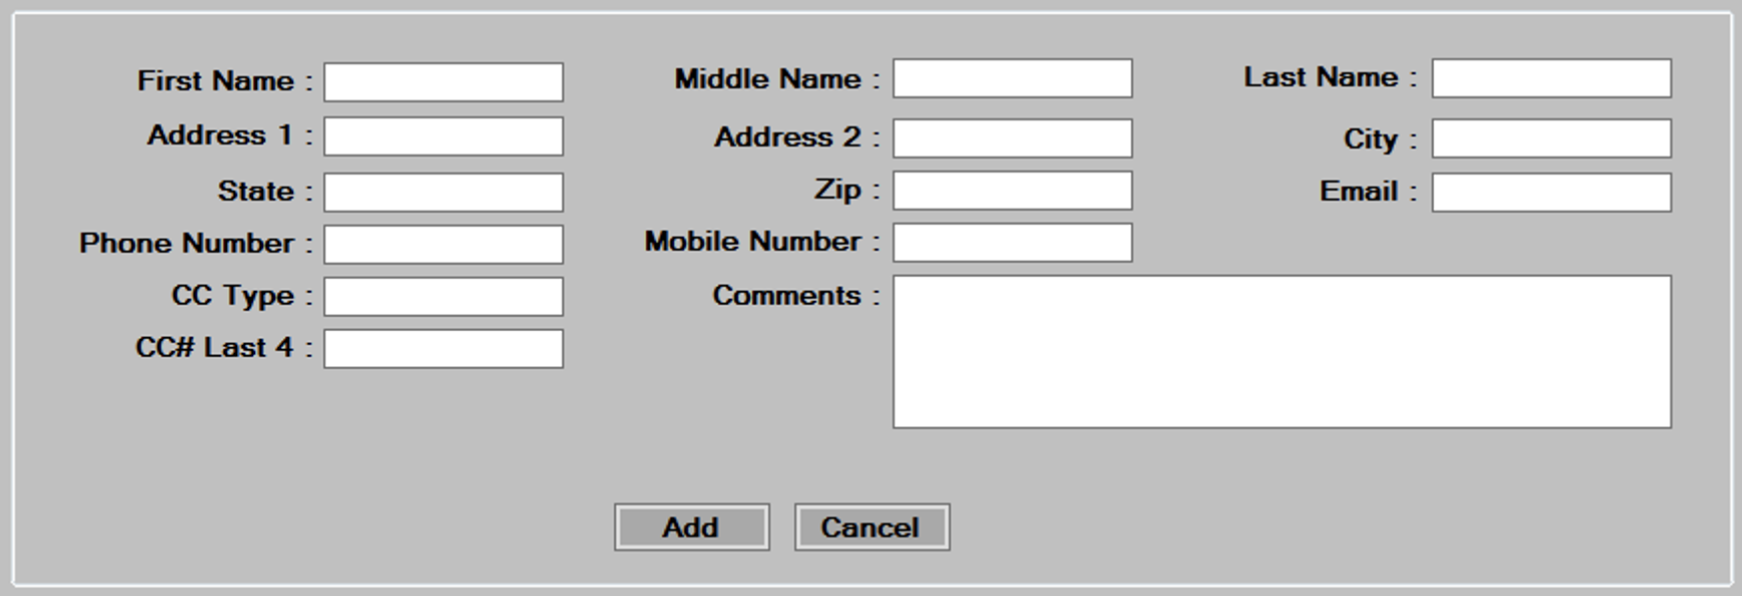
- Enter the blacklist criteria that you want the system to search for. All fields entered have to match for the system to send an email, so the best practice would be to add several entries (one with email, one with phone number, one with cell number, one with names, etc.).
- In the Comments section, enter the first and last name of the blacklisted customer. Doing this will group these entries together on the blacklist report. After the name entry, you can enter general comments about the blacklist entry.
- Press the
 button to add the new blacklist entry, and then press ok to continue.
Editing/Deleting Blacklist Entries
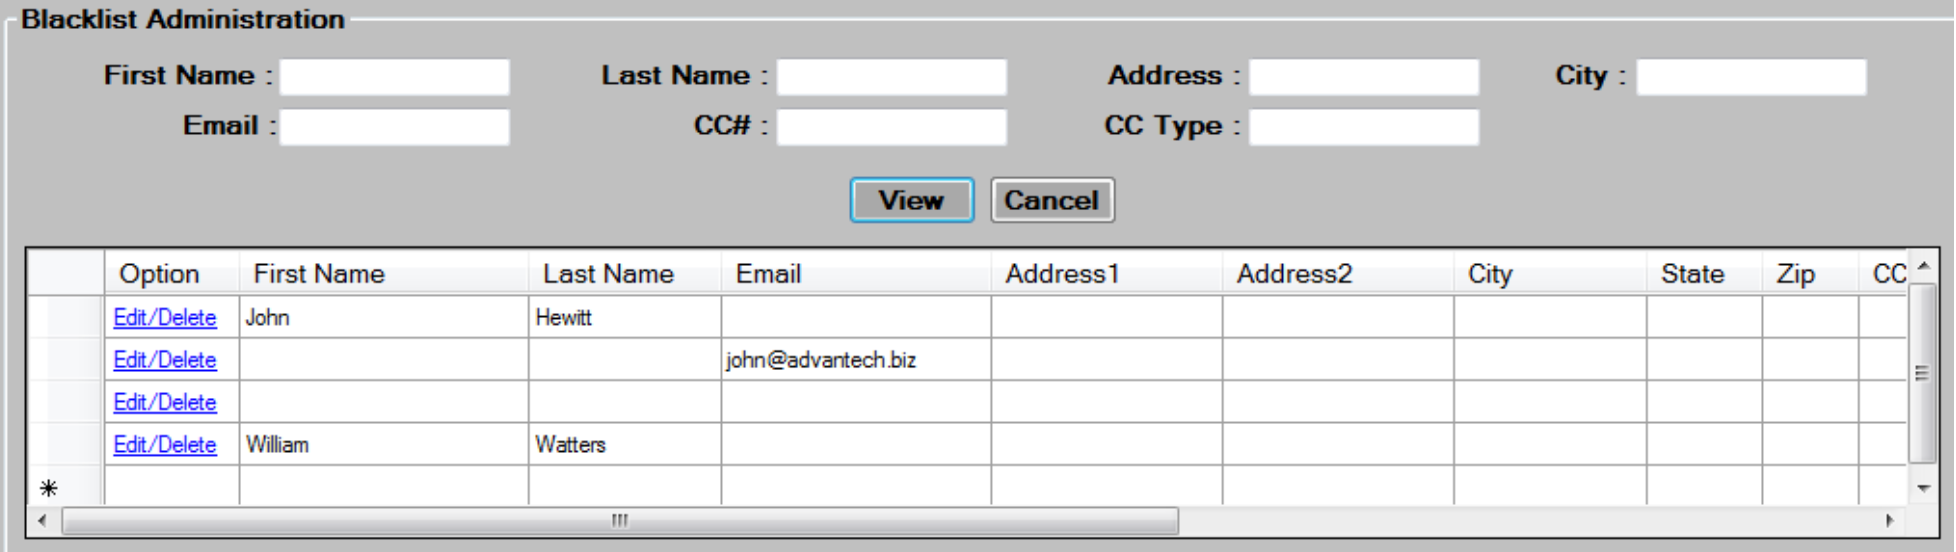
- Select from the filter criteria shown above, and then press the
 button to display the existing blacklist entries.
 - Scroll to the appropriate blacklist entry, and then press the
 button to load the existing data into the screen for editing.
 - Change or Add data as required, then press the
 button to save the changes, and press
  to continue. To delete the entry, press the
  button, and press to continue.