Profile Ticket Sequence
The Profile Ticket Sequence tab is used to define the ticketing profiles used on the tickets tab in the system. Separate ticketing profiles can be defined based on the location and function of the particular ticketing or call center station being set up.
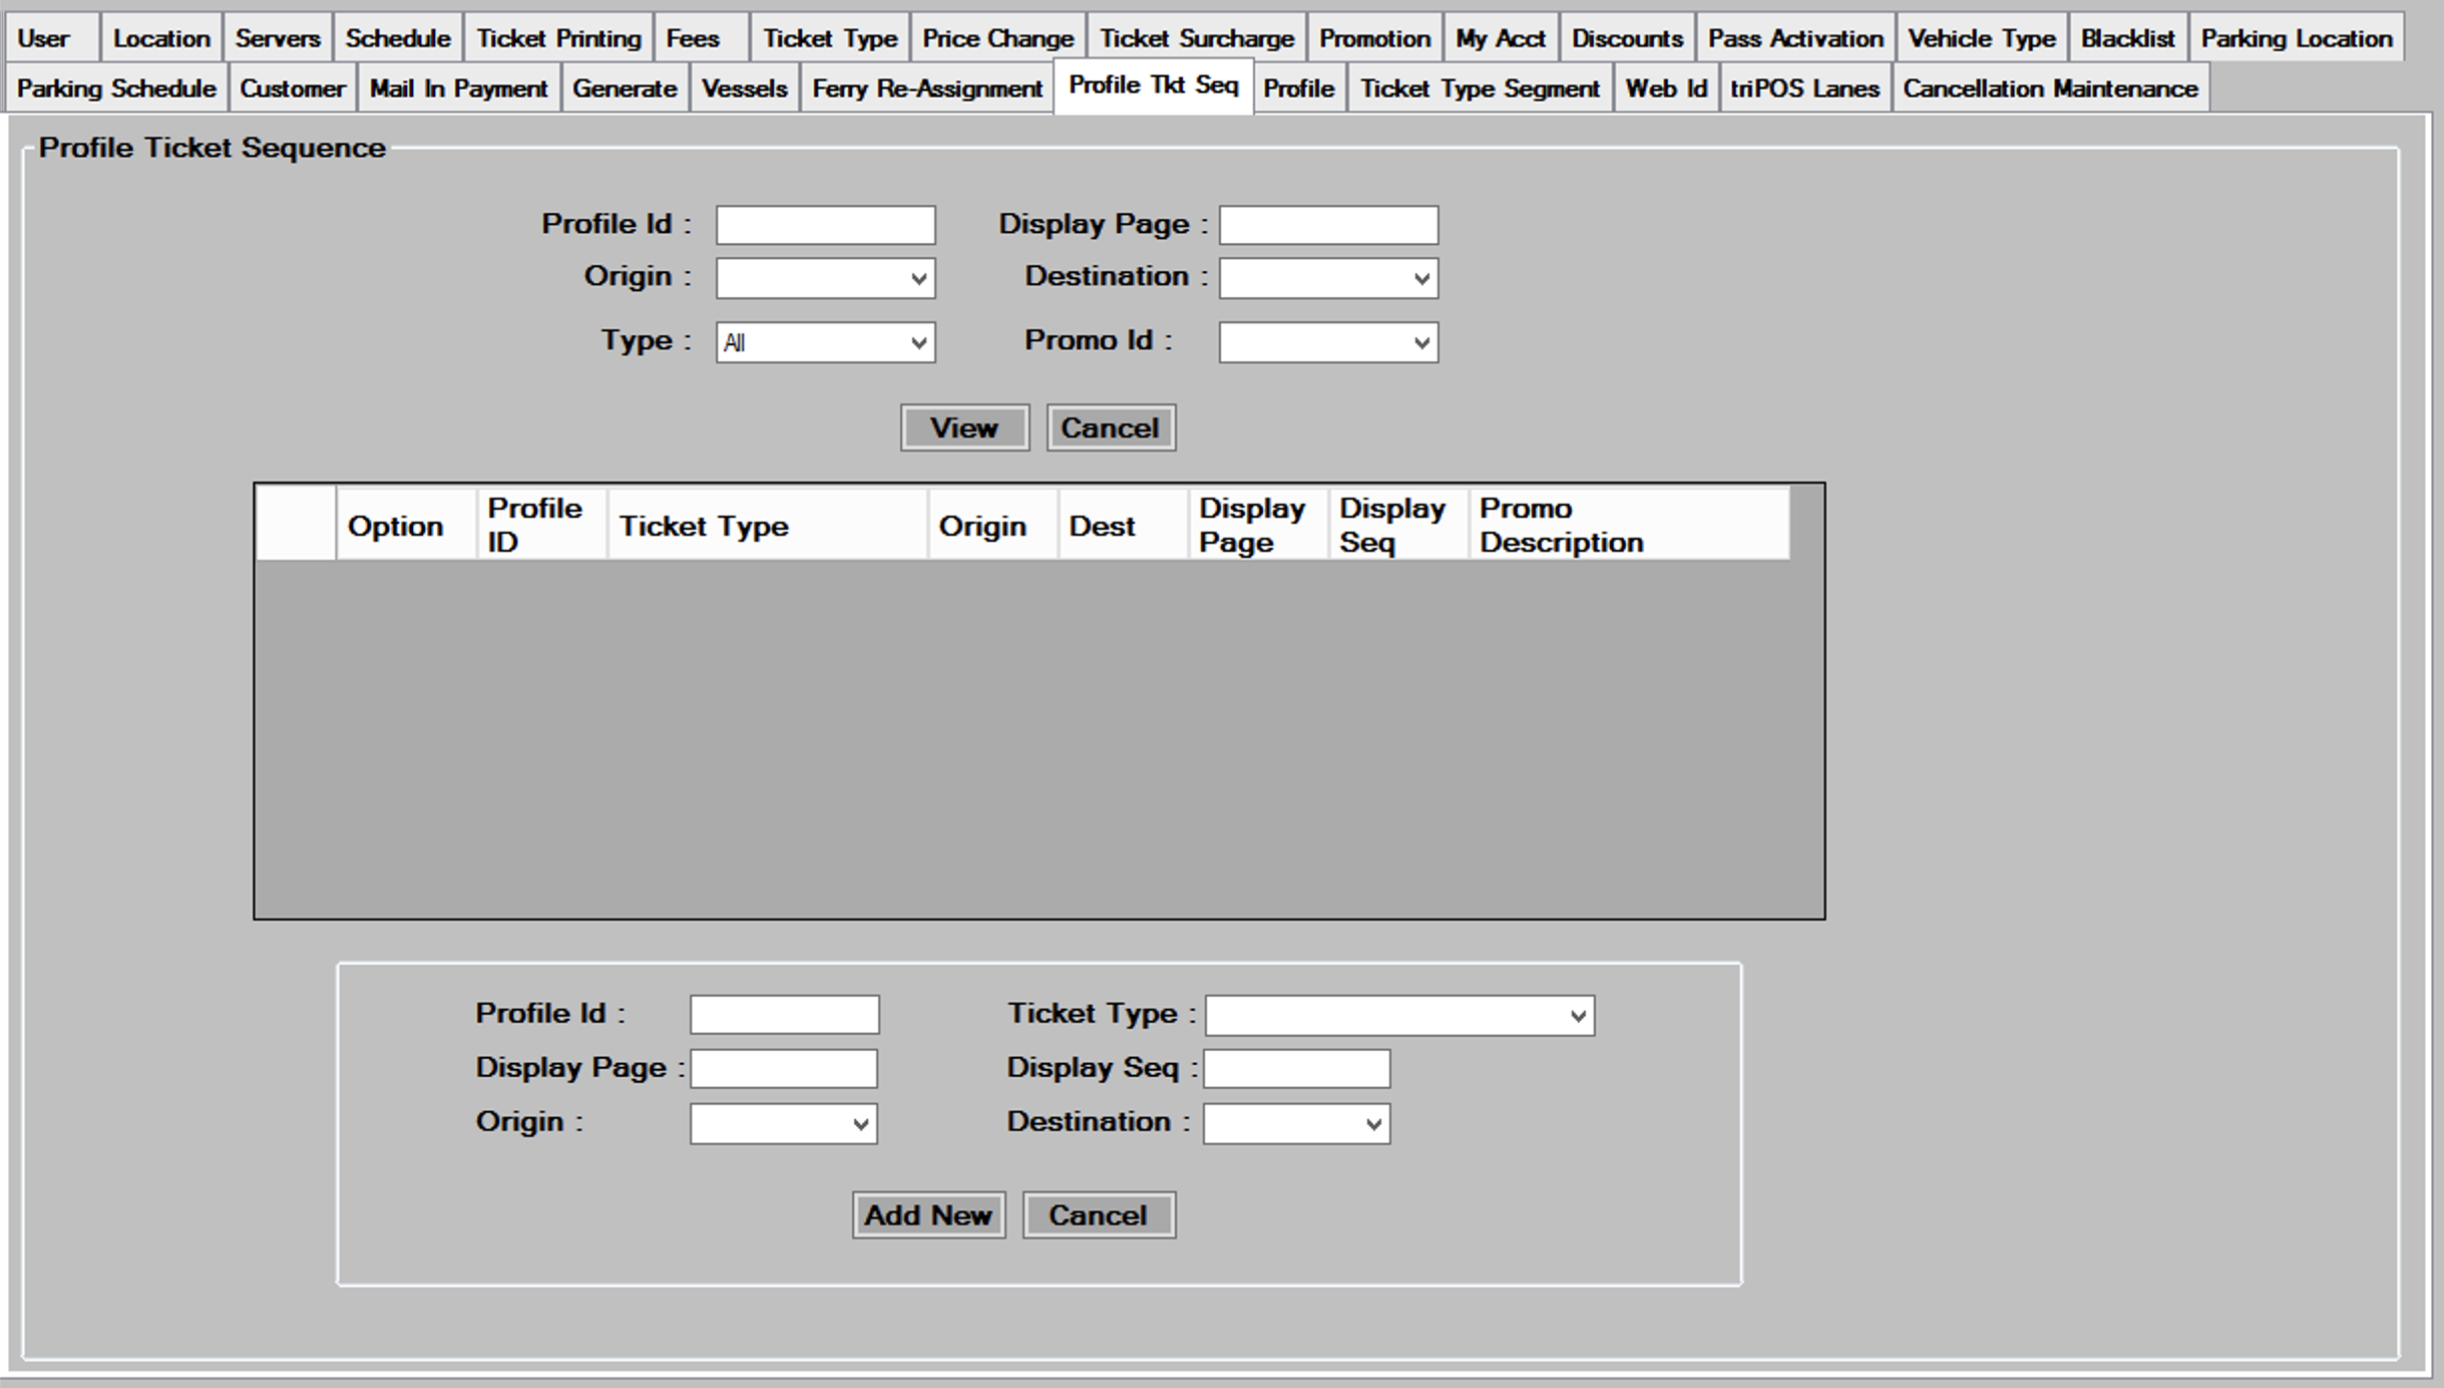
Creating a new Ticketing Profile
- To create a new ticketing profile, you should first create the profile on paper, and decide on what tickets you want in what positions on each page. Each page of tickets can hold up to twelve different ticket types. When mapping out your profiles you should set up separate profile pages for each origin / destination combination being sold using that profile. As an example, if you are setting up profile 1, you will need a set of pages set up for selling NL-OP in profile 1, and another set of pages for selling the Sea Jet (NS-OS) in profile 1.
- Once you have your profile mapped out, you will need to fill in the
 number you want to use for this profile.
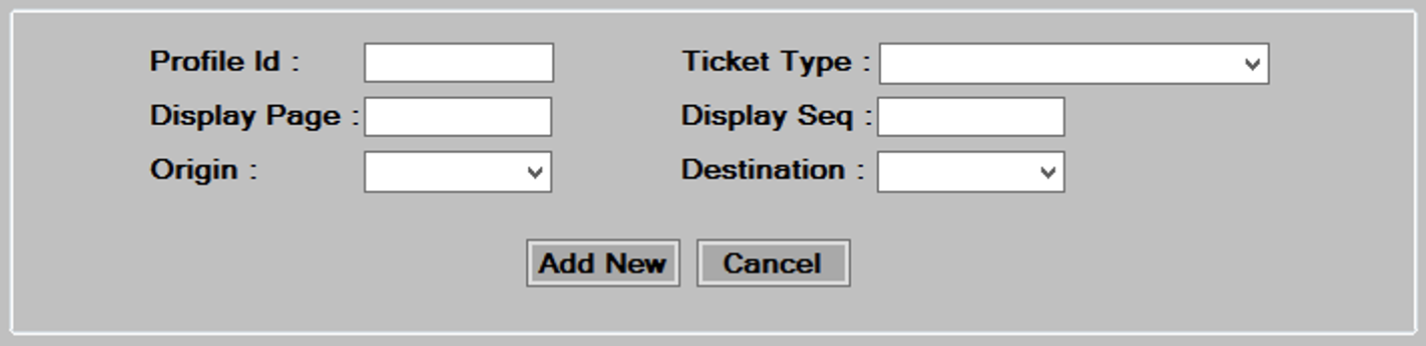
- From the drop down, select the
 you are adding to the profile.
 - Next fill in the
 and
and  where you want the ticket to display. The first ticket on page one would be display page 1, display Sequence 1. Each page will hold up to 12 tickets, but you do not need to fill every slot on every page. Since the display page and sequence is also based on the origin / destination being sold, you will end up having multiple page 1’s if selling for multiple origin /destinations.
 - Now fill in the
 and
and  for which the ticket type being added is valid for. Having these fields allows you to set up specific profiles for each origin destination you are selling, eliminating tickets that are not valid for that departure. This feature allows you to reduce the amount of scrolling to find tickets that are specific to the origin / destination you are selling.
 - Repeat steps 2 through 5 for each ticket type being added to the profile.
Creating a Special Ticketing Profile for Promotions
If a ticket type being added to a profile is associated with a promotion, then this ticket type will be excluded from the profile when ticketing for a regular, non-promotion sale. Since promotion tickets added to profiles will be ignored unless the promotion is selected during ticketing, they should be set up starting with page 1, sequence 1 and they will not interfere with the non promotion tickets using page 1. Some general guidelines are:
- Set up promotion tickets in their own little separate profile.
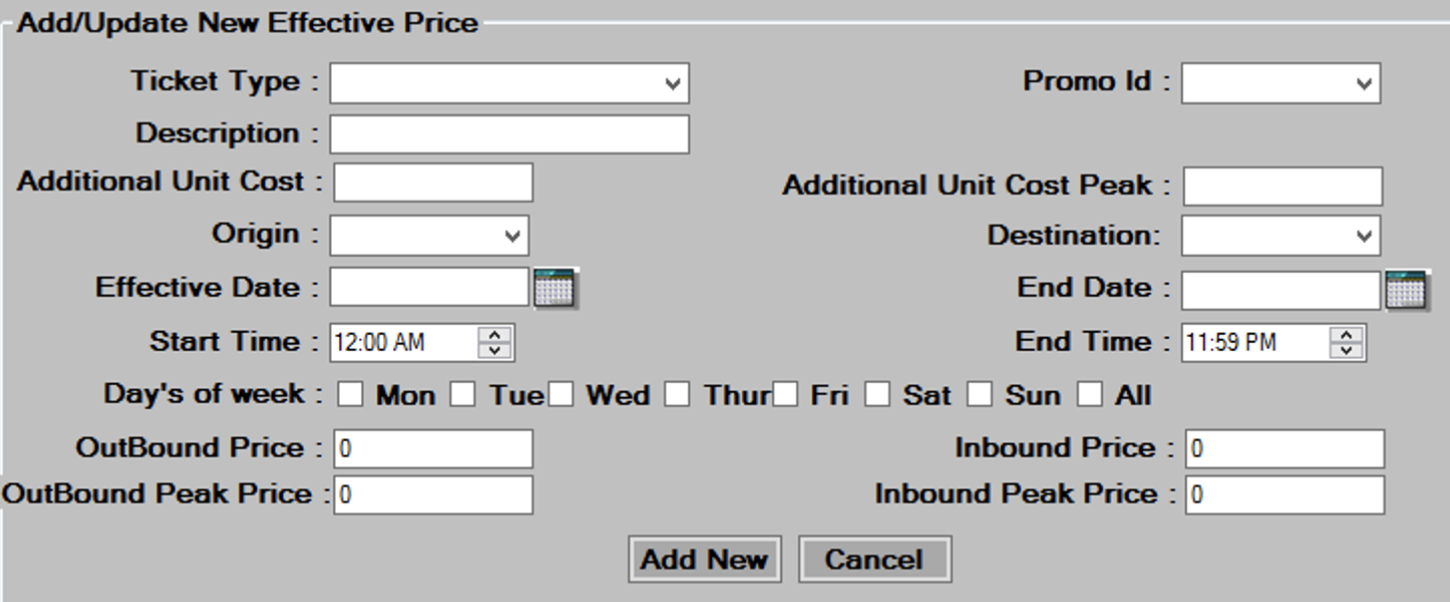
- Promotion ticket types are associated with the promotion using the Price Change tab. You mustassociate the promotion tickets with the promotion by setting up a price track in the price change tab. This is where you limit the promotion tickets to a certain date range, certain days of the week, and provide special promotional pricing (see example below).
- Once you have determined the promotion tickets are properly set up and associated with the promotion in the price change tab, you can then set them up in the profile.
- You can view each promotion profile within the main profile using the filter criteria (see below).

Editing/Deleting Ticketing Profiles

- Select from the filter criteria shown above, and then press the
 button to display the existing customer entries.
 - Hit the
 button to the left of the profile ticket you wish to edit or delete.
 - The bottom of the screen will populate with the information about the profile entry youselected.

- Edit the data in the desired fields, as required. See the Creating a New Ticket Profile section for more information on each field.
- Press the
 button to save changes then, press
  to continue.
 - To delete, select a Customer by pressing the link, then press the
 button at the bottom of the screen. Press to continue.